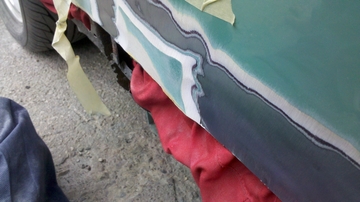
Mathew's 1962 magazine featured splittyposted on 17 August 2011 | posted in Mathew's 1962 magazine featured splitty | ( 0 ) CommentsHere is Mathew's recently purchased split, former show winner and front cover magazine January2011 feature. Now at MidlandPaintWerks for a major freshen up all down to mathew's keen perfectionist eye.  Here is how it arrived, For most people a perfect bus but for matt a solid basis to work on. 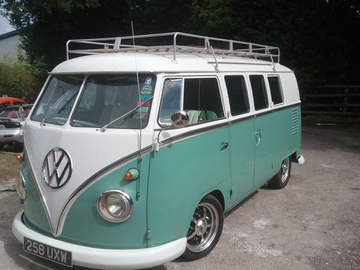 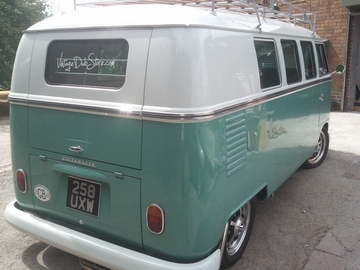 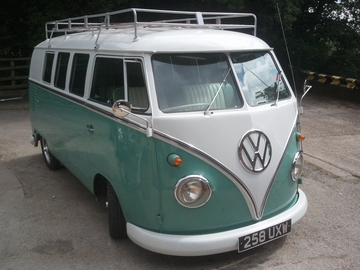 Its in for a bottom half re-paint including bumpers and safari windows fitted. Here are a few of the imperfections, mainly the odd dent, cracks in seams,worn edges,blisters,cracks in filler, Highs,Lows,inner arch showing through, previous sinkage and this one being ripples, a few stand out but this one being the worst. Although its hard to catch on camera. 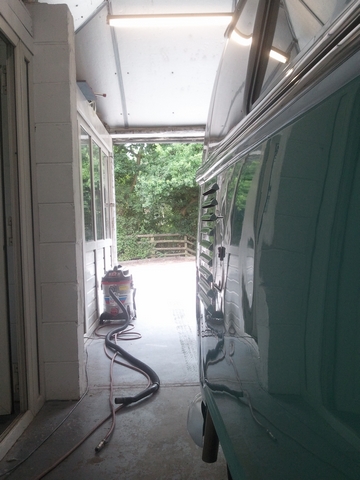 Blisters under the paint   This is what the small blebs tuned into small surface rust. 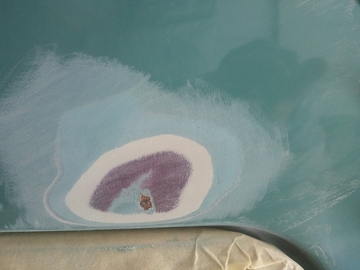 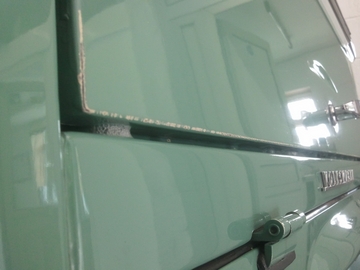 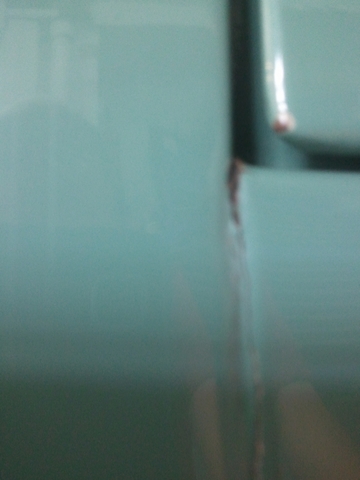 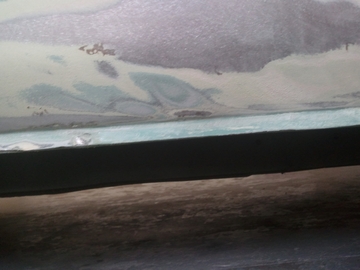 Then we found this ! 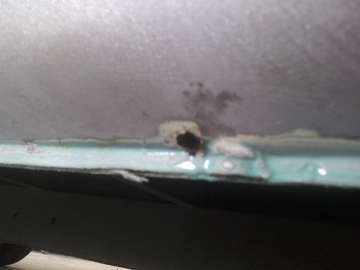 This bottom edge looks very suspicious rather thick ? 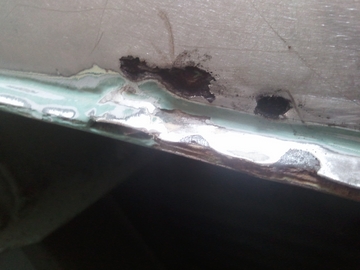 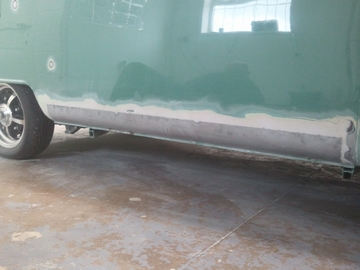 A few inch of filler removed to find a sill hiding on top of the original 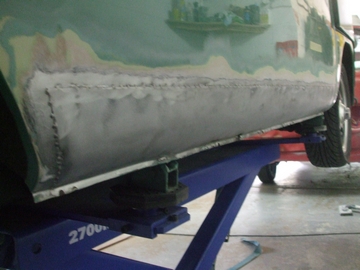 Then we start to cut it off and peel it back. 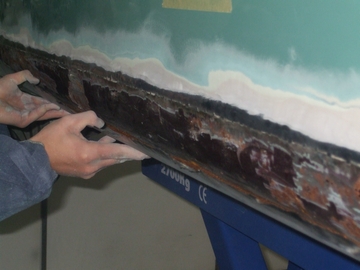 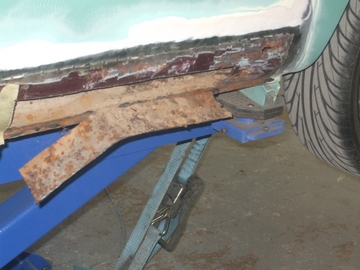 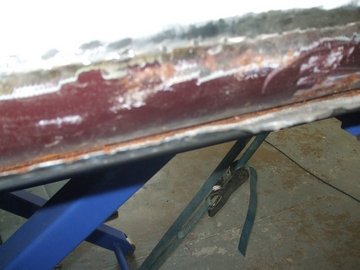 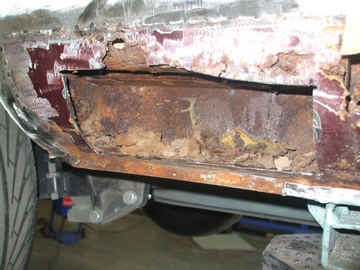 Cut the sections of the original sill out to find half a beach fell on our floor, this was a time bomb waiting to errupt. 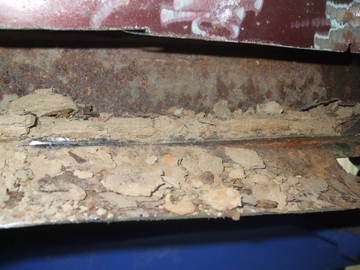 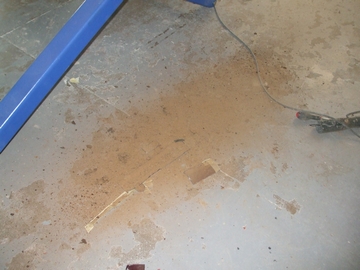 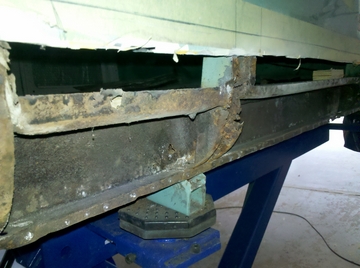 The thick un wanted filler removed as we are not welding one on top
Inner sill blasted to see what we are left with Note all the small pieces of tape, indicating minor ripples or dents 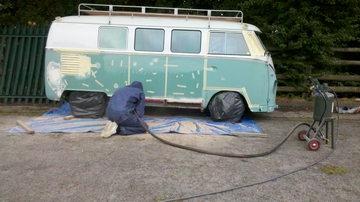 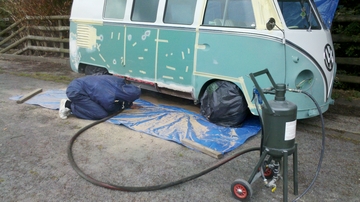 And supprisingly was solid apart from one small hole and a rotten strengthener, we caught this one in time! 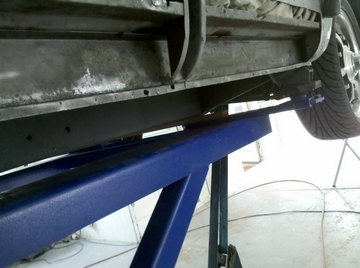 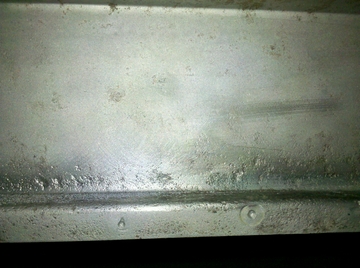 strengthener cut out hole delt with and welded along with a new strengthener. Then epoxy zinc coated to last forever!! 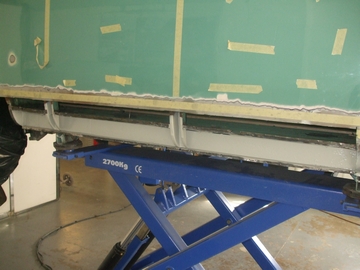 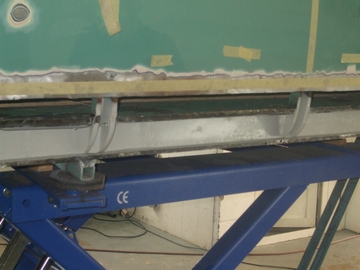 Pretty cool for a panel never seen! 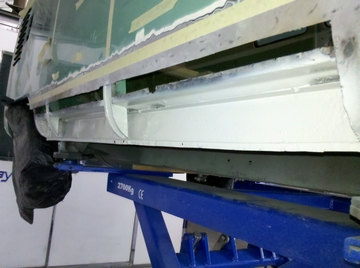 New outer sill welded on and completely seam sealed all round 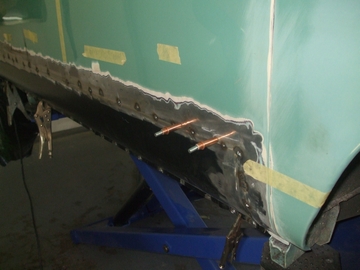 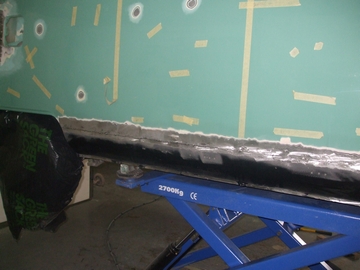 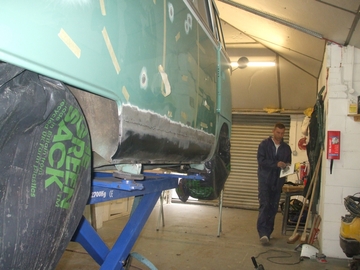 Starting to now smooth it in to existing bodywork. 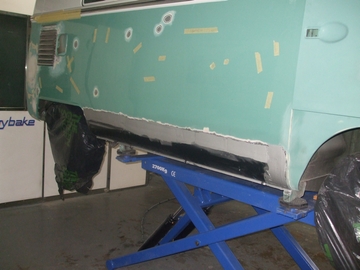 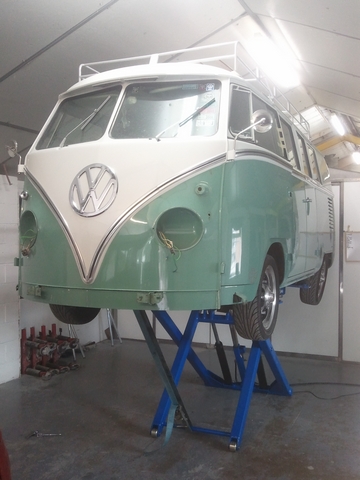 All the rest of the bodywork levelled and blocked,blocked and blocked again! 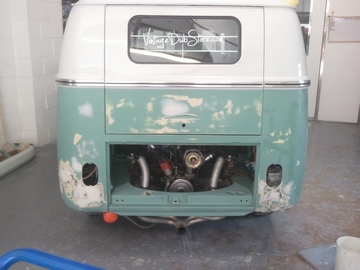 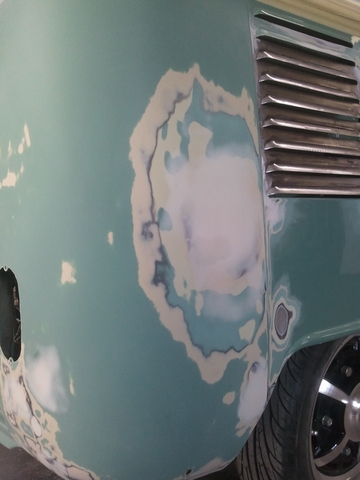 Vents bared due to the amount of small blisters found. 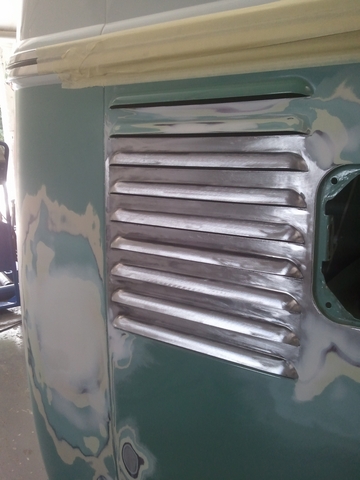 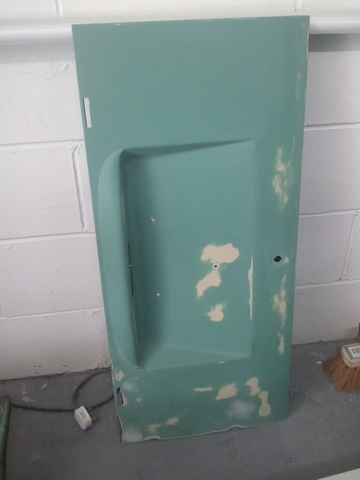 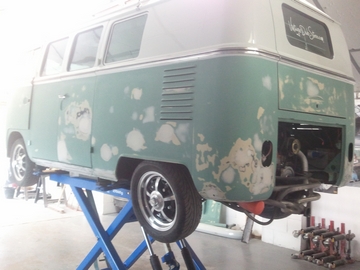 Looking straight!! 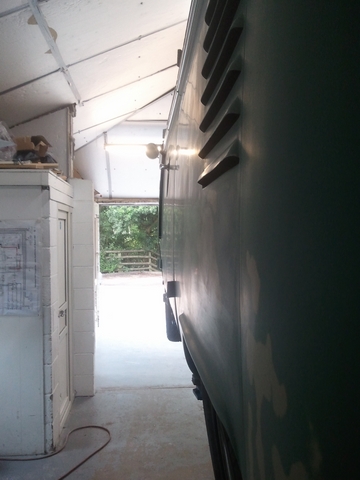 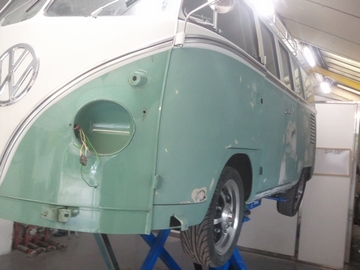 All Body work levelled and corrected, shell masked and baked before a coat of sealer was added. 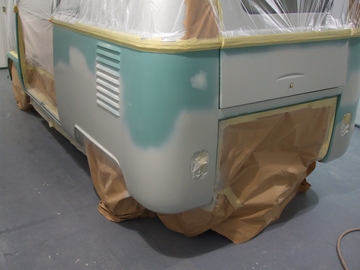 This side took a complete week to get correct. 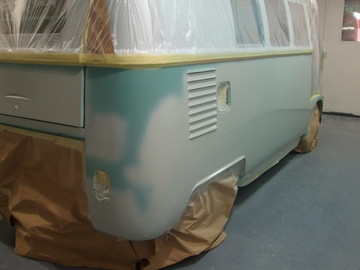 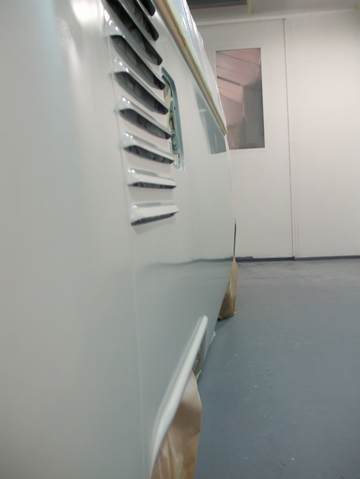 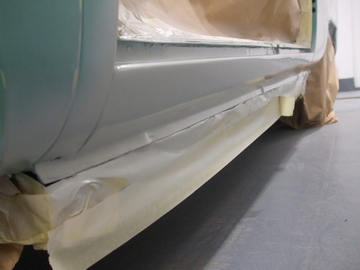 Parts done too 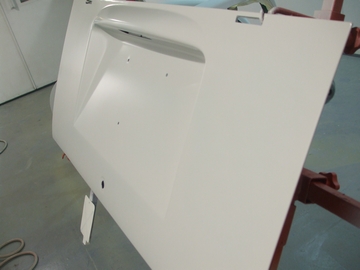 2k primer surfacer next and now ready for block sanding! 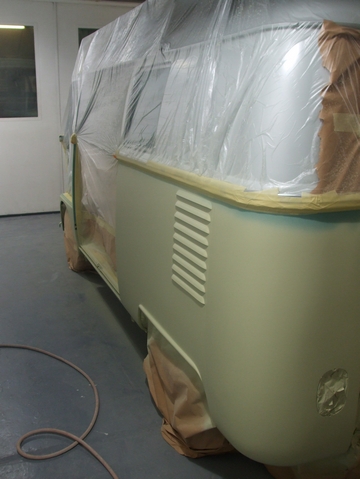 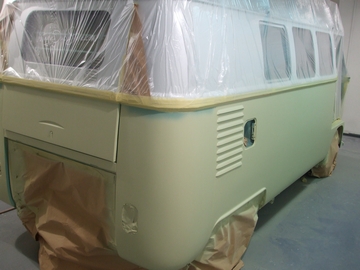 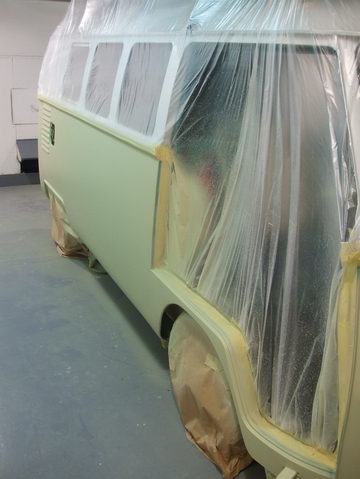 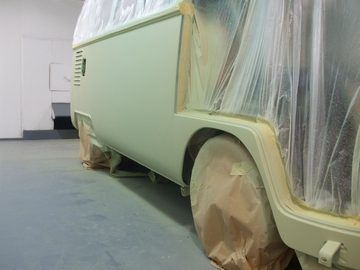 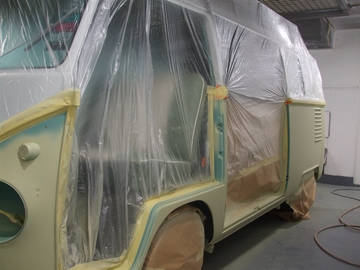 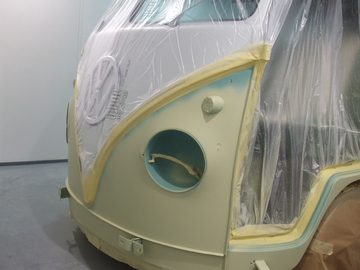 Looking 100% better! 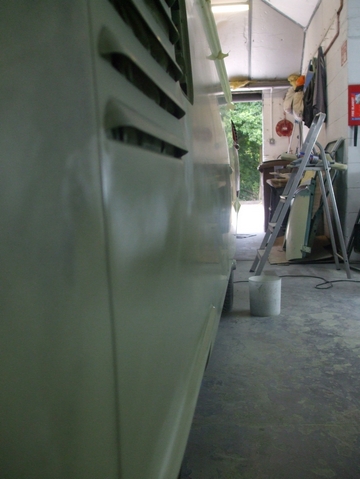 Windows removed ready for the safari's and a little more rust found! 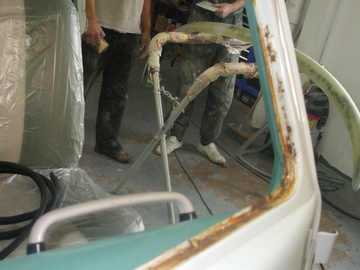 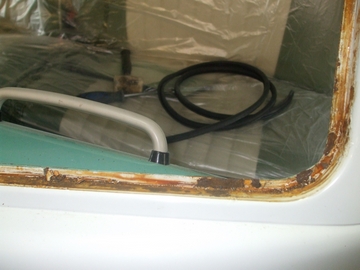 Window frames bared and treated with acid! 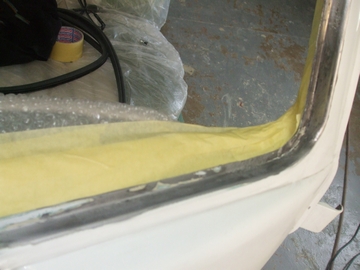 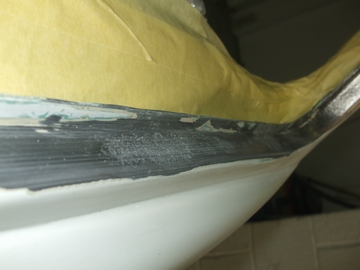 Absolutely solid . 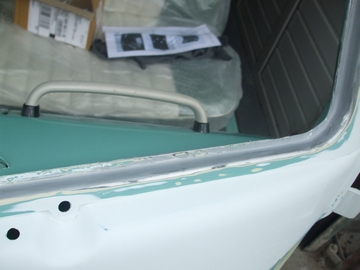 Front prepped of stone chips and the odd scratch and dent. 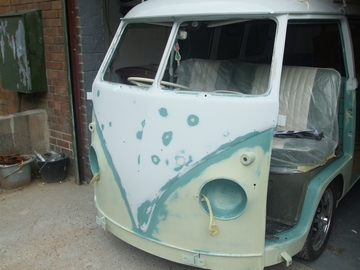 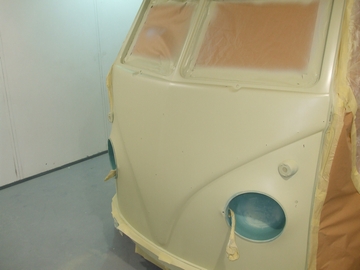 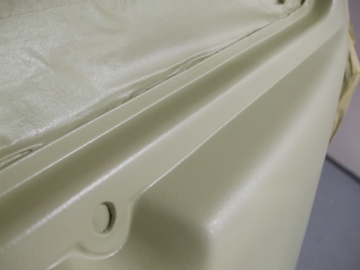 As i wasnt to happy with the seam i re repaired it to get the depth right and the lines perfectly straight 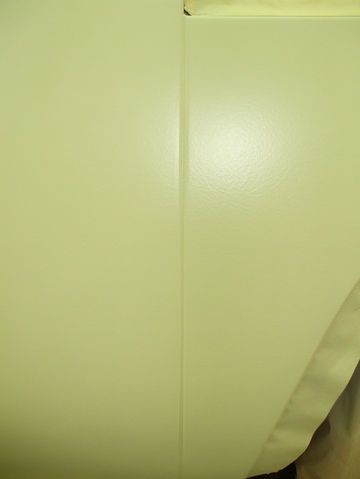 All seams sealed to stop cracking in the futre and remain flexible. 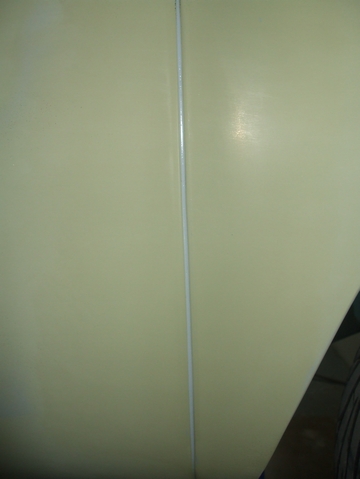 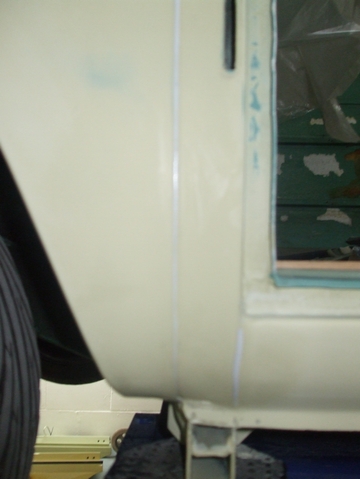 Van masked and sealed off, finally after we managed to get the tape stick to the underside! 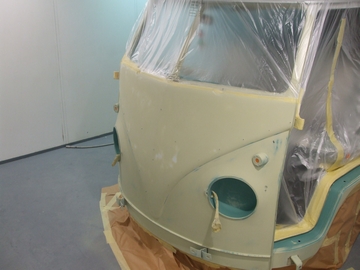 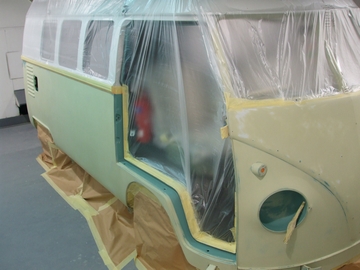 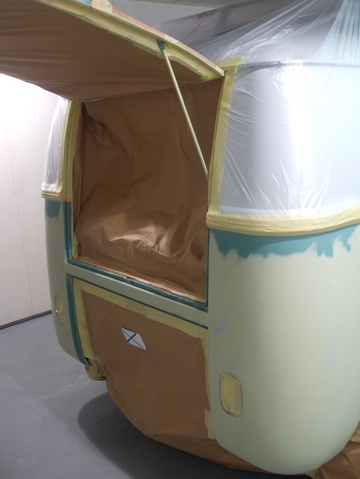 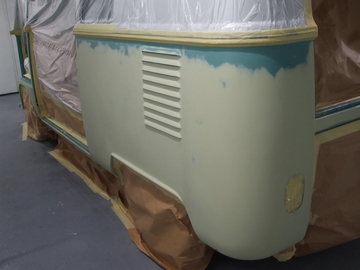 The perfect match! 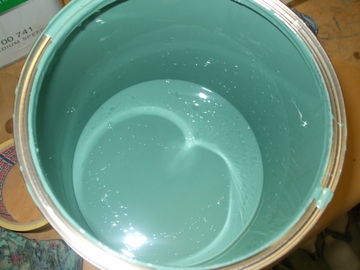 Body clear sealed and then shot in the top coat 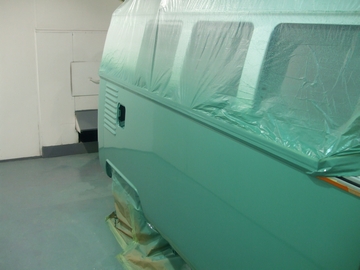 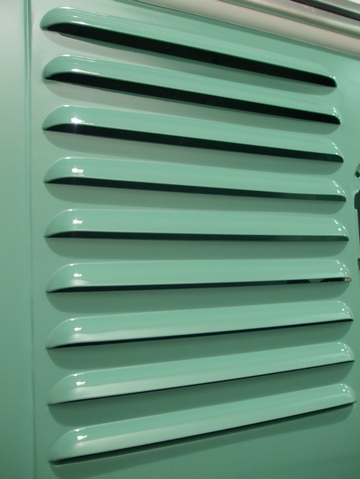 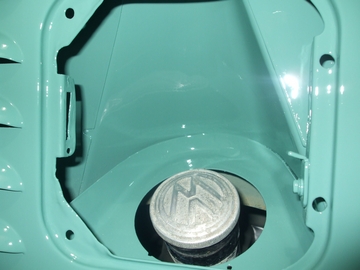 Nice and straight here. 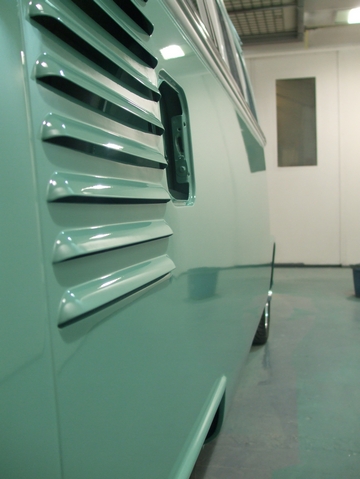 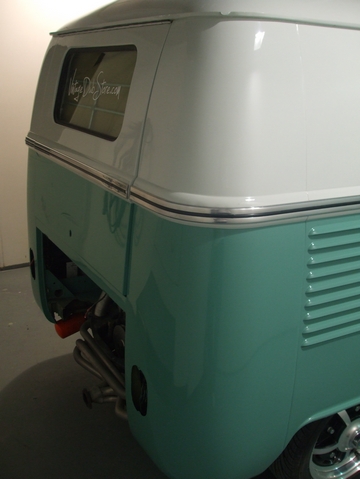 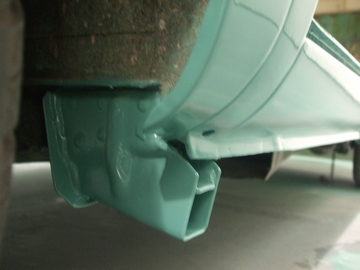 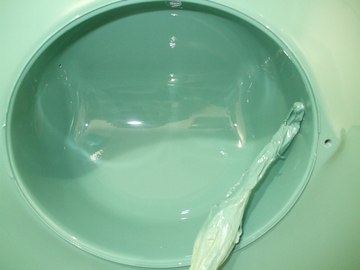 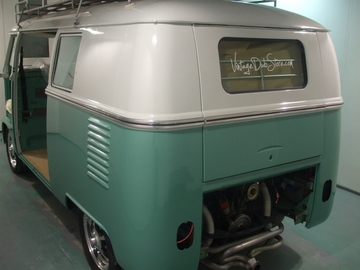 The paint depth is fantastic. 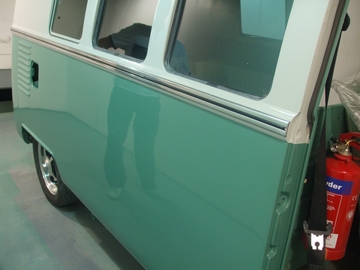 Bumpers and safaris prepped and painted in the upper top coat matched to the body! 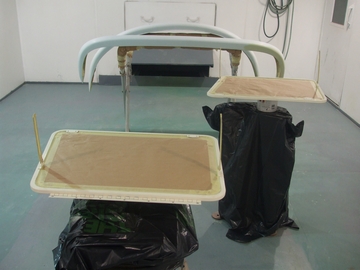 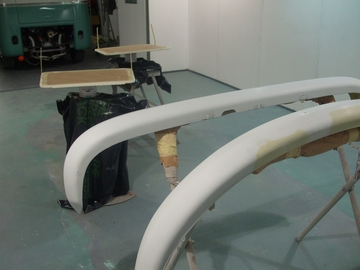 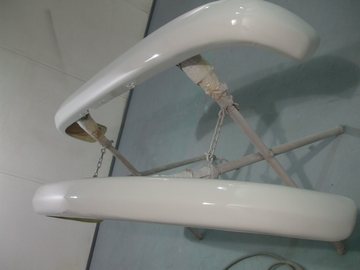 fortunately we found that these windows were built together in a press and shouldnt be taken apart again. Tricky to mask but a bit of patience and time got us there 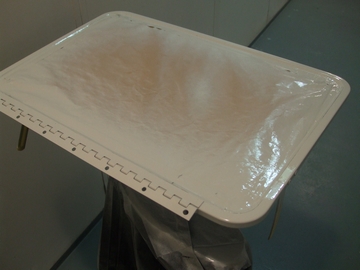 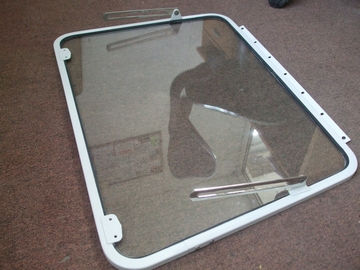 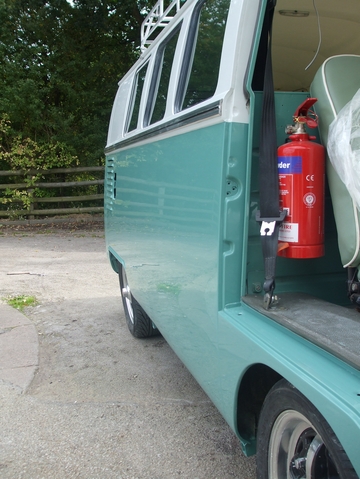 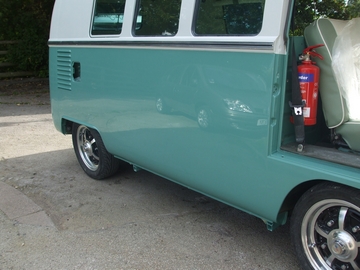 Looking a lot better now, no dents,ripples, rust or inner arch showing through. 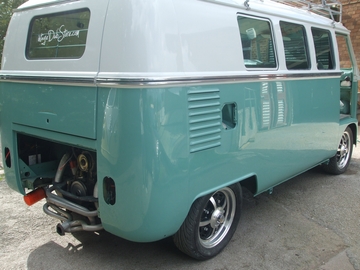 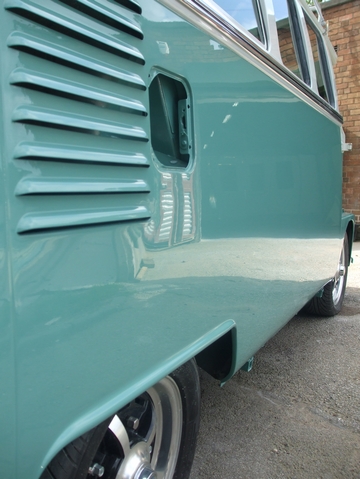 Reflection in the side long panel ! 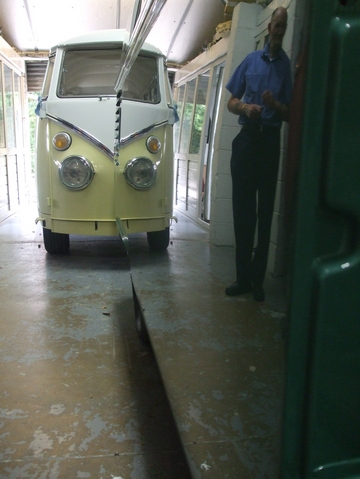 Front correctly lined out ! 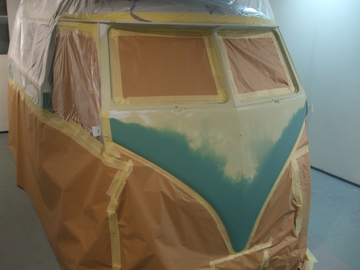 Painted! 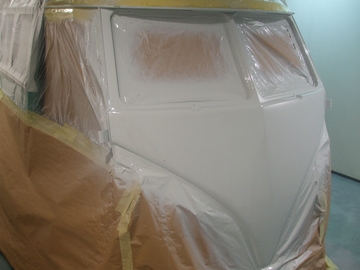 Vents masked 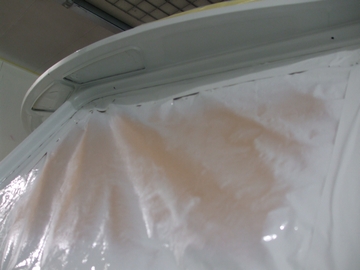 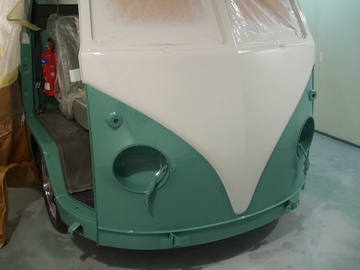 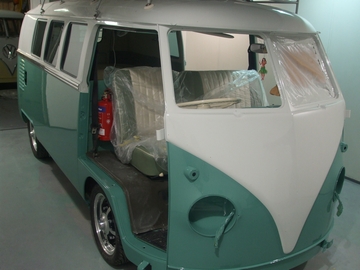 Parts Painted 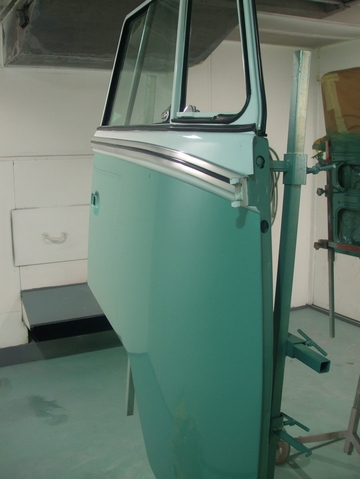 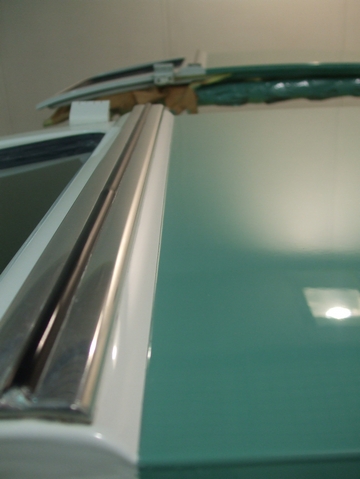 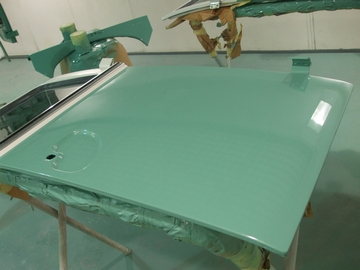 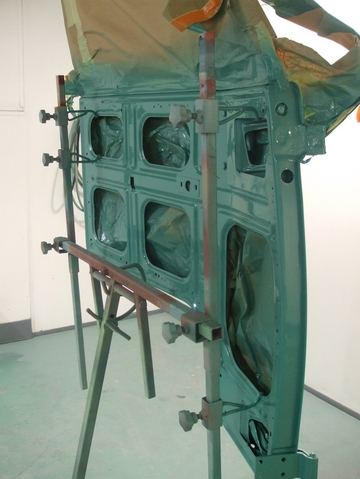 Van starting to get built back up! 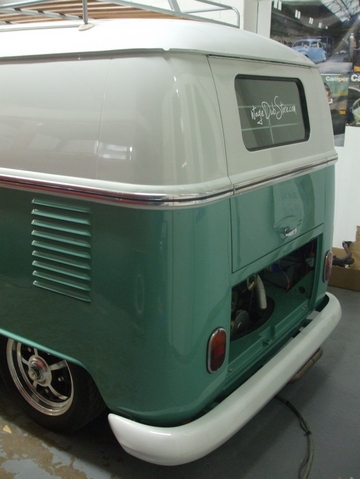 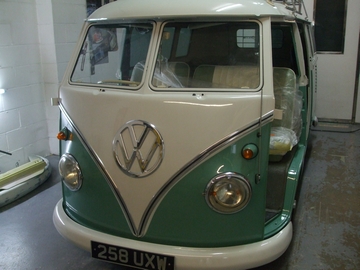 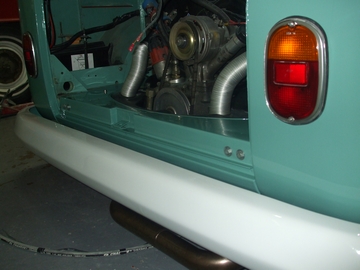  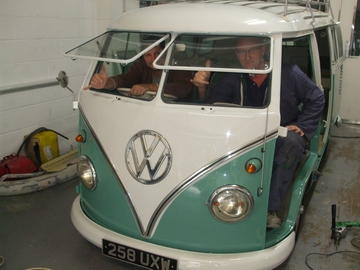 Now off to Bromsgrove Auto Trimmers 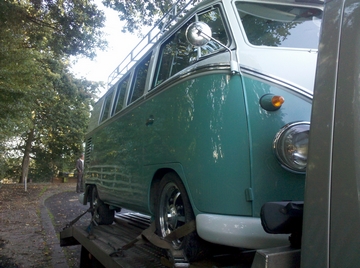 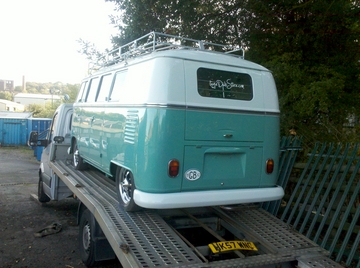 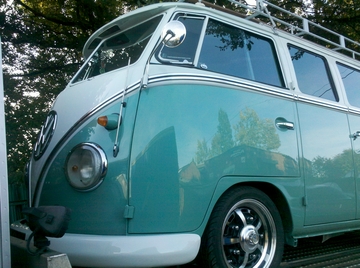
|
||
Comments ( 0 ) - Add Your Comment |
||

